Build Crossy Road Replica Part-1

If you are visiting this page using phone, it is recommended that you view this page in landscape mode to view this page correctly
I guess you all know about crossy road, ryt? And its very simple ryt? So why
not we build it .
In this post we will try to build a crossy road replica using Unity Engine.if you haven't played this game here is the link: https://play.google.com/store/apps/details?id=com.yodo1.crossyroad&hl=en
1. Understand the Game:

This is a simple game and the only condition is to check if we collide with vehicles.if so we will end the game else we will wait for the next input.So let start
2. Create a project using unity hub

Since this a 3d game you will need 3d files for the game. For designing this models we can use any 3d software. In this project I have used Blender. Also it worth mentioning about Magic Voxel which is simple voxel based modeling software which is perfect for this game.both of them are free softwares. Since 3d modeling doesn't come under the scope of this course i m not going into it .You can download the files i have used form here : Download3d Files. Note that when ever you download 3d files mostly it will be in this structure { ie a folder containing 3d models along with their textures. for easy understanding consider 3d files as a shape and textures as a paint that can be applied on them.}
So after downloading the files you need to import the files to unity , to do that , first unzip the file using any software available in you system .
Inside Unity Editor, create a empty folder inside unity project (by right click on project tab -> select create -> Folder -> type a name eg 3dfiles )
Now select all the files except " No Need to copy " and drag them to the unity project tab to import it. Alternatively you can copy paste these files using windows file explorer to same folder (ie : Project_location/Assets/"your folder name")
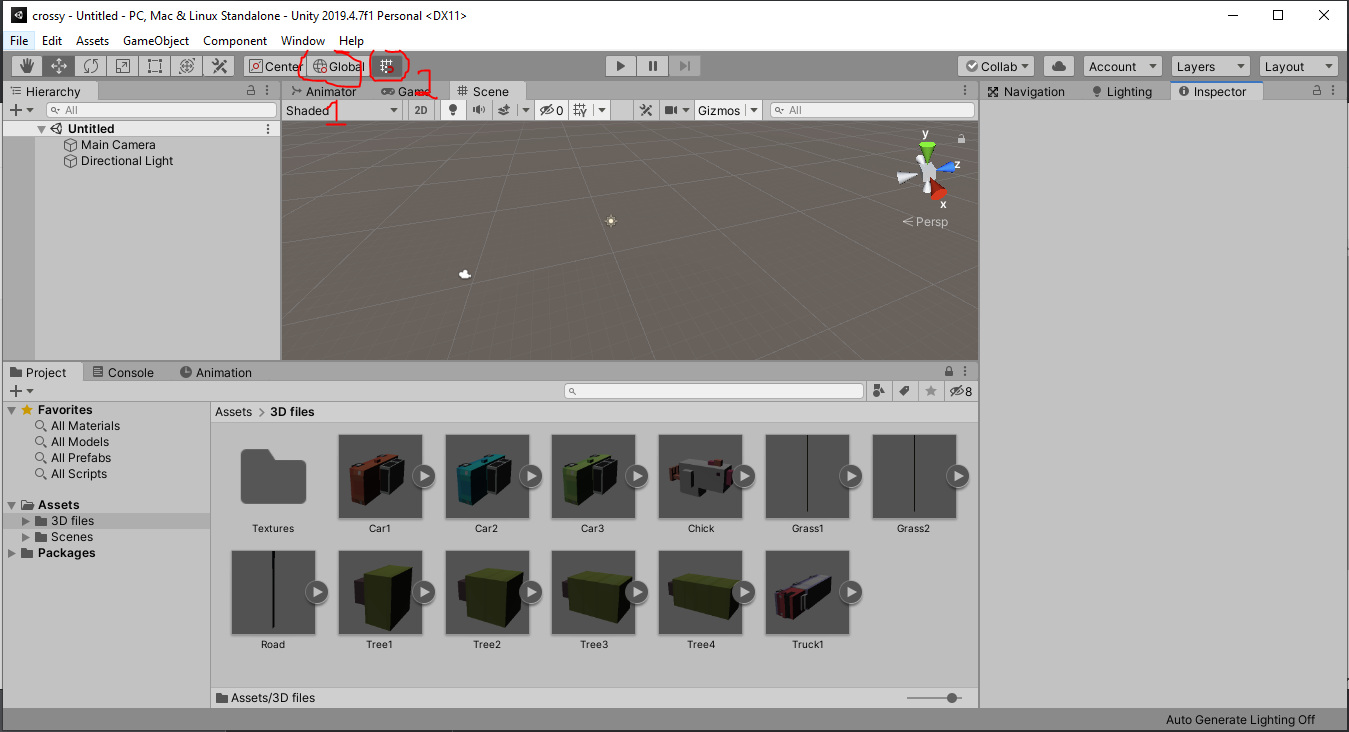
check if all 3d models appears to have a texture on them ( they should be like fig below:)

Now we need to place 3d objects in our game scene but for a game like this it will be easy if we enable Grid Snapping { which will automatically position our objects in grid}
To do so first make sure tool handle rotation is Global (marked 1 below) if not click on it.
Then click on Grid snap icon ( marked 2 below).If the button is in pressed position it is enabled.
Now to select appropriate size of grid :
click on Edit -> Select Grid and Snap Setting a window will pop up: Now make sure your values are same as the figure given below: These are the values according to 3d models which i have used if you are using 3d files from other source you may need to find appropriate value by adjusting the scale of objects in the inspector and value of grid size:

To place an object in center of the scene (ie x=0,y=0,z=0) just drag the game object (ie 3d model ) to the Hierarchy tab.so drag the grass1 3d file .
Now will be able to see that object is added into your scene. if now just double click on the object in the Hierarchy to automatically change view to focus that object.

Now you can zoom in using scroll button : Navigation in is very important for level design so go through this https://docs.unity3d.com/Manual/SceneViewNavigation.html it will tell you how you can easily navigate through scene view.
Now try moving the object in the scene { select the move tool show in the above fig. and click on the object (grass 1) in the scene view . and 3 arrows for each axis will be shown. you can drag them to move the objects in different axis.} You will see that the object are not moving continuously instead it snaps to certain position .this was which we enabled first if you need to disable this just repeat the step above. this can help us to design levels faster.
Also note that in inspector tab there is a component called Transform. you can also change the position of the object using position values in each axis. or rotation or scale.
Note that if you need help about any component in inspector click on the "?" symbol above it.

Then the road again grass2 etc in any order you like .And mine looks like:
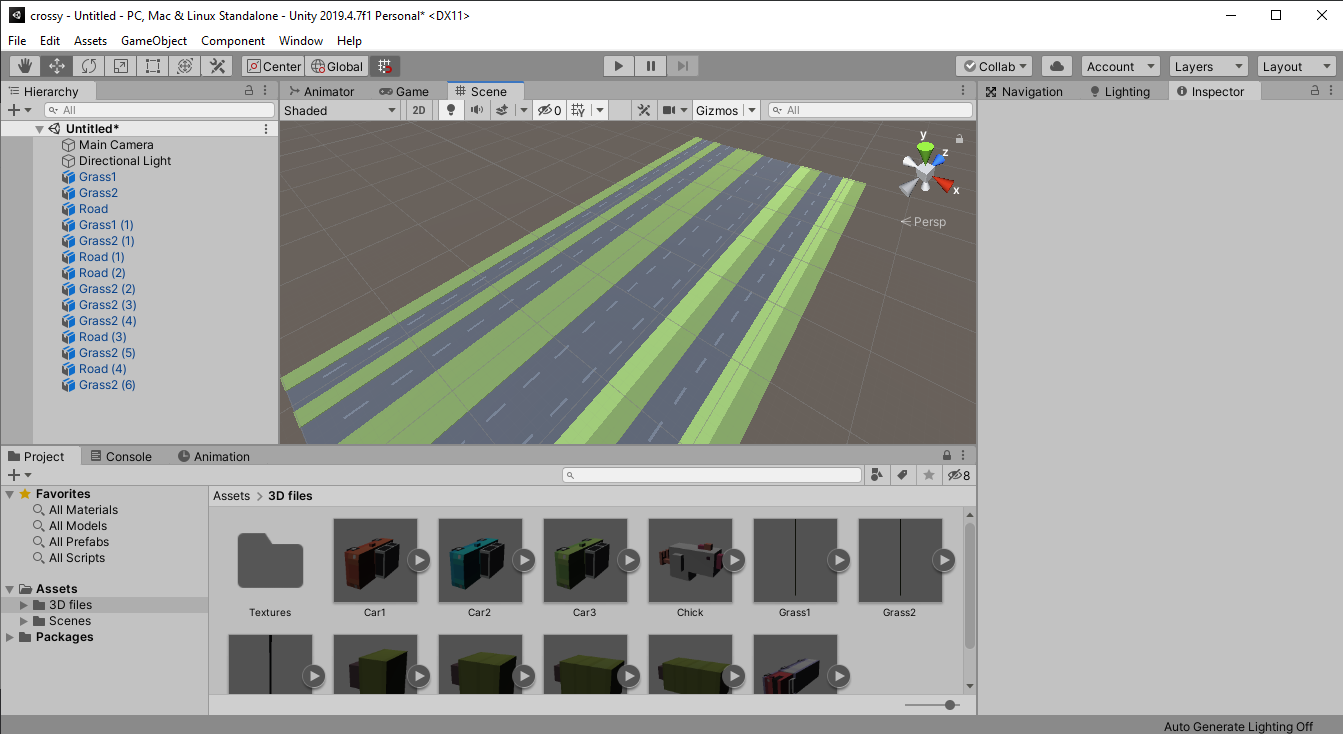
Be creative and do how every you like.
It is possible that your objects might be not bright as mine. this is because :
In unity auto generate lighting is turned off by default( this calculates and generates lighting in your scene ) in order to improve performance .
To Generate lighting click on -> Window > Rendering >Lighting Settings
Now a tab pop ups named Light Settings( fig 1 below)
In that tab click on the Generate Lighting Button(fig 2)
within 10 seconds it will calculate lighting and you will be able to see this in the scene view.

In case you have messed up the layout you can go back to the default layout by selecting > Window > Layout > Default .. also you can see other layouts here
And if you need.. you can also save your favourite layout there.

Note that when you start a new project unity creates a new scene called sample scene. so instead of selecting save as , if you select save you will be saving the current scene to sample scene which is located in "Project location/ Assets/Scenes"
First part ends here ! Thank you for following!


No comments: