BUILD CROSSY ROAD REPLICA PART-8

This is the last part for this project . In this part we are going to build the complete game.
Till now we have played the game inside our unity editor, To export to our required platform ,it should be a executable. file format , eg exe for windows, .deb for linux.. apk for android .. etc
This process of making executable format of our game is known as building.
For that click File -> then build settings,
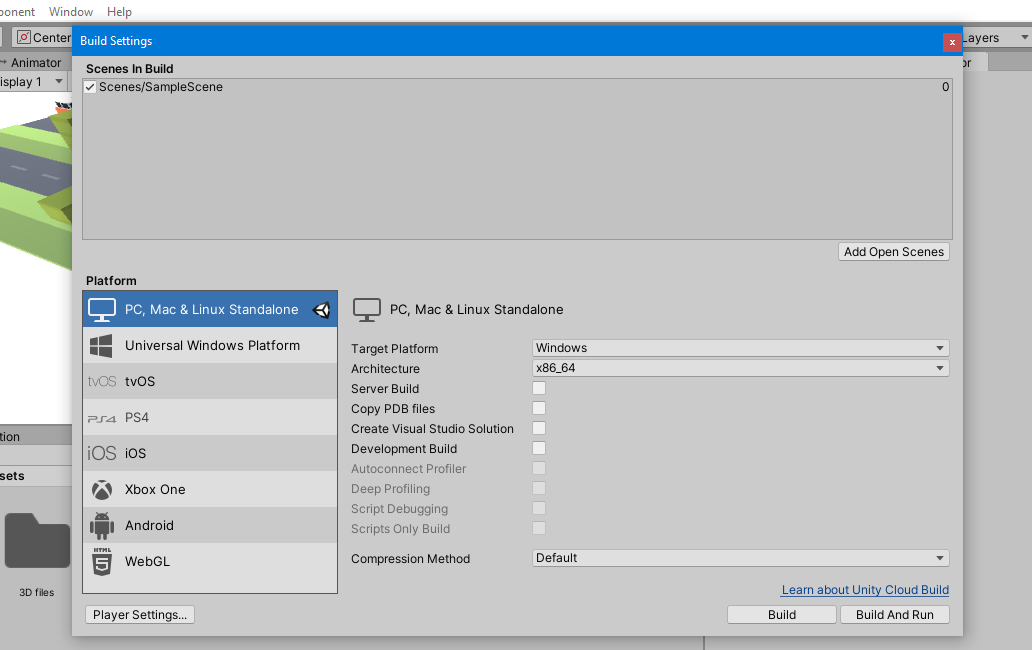
Note , if you are coming directly to this part of the tutorial ,without going to the previous one, click on the Add open scenes , this is how you add your scenes to the build , if you don't add a scene , unity will ignore that scene and will not be available in the final game.
Now you will be able to see some options , including which platform you want to build for, by default modules for building windows , linux , mac executable will be installed along with unity. if you want to build for other platforms like android or webgl , you have to download and install those modules.Links for those modules can be found by clicking on the required platform and click open download page.
note that if you are building for other platform , After downloading and installing those modules. you need to select the platform and click the "switch platform" to take effect.
Also changing platform in-between requires you to re-import the assets which requires a lot of time.so it is recommended to switch your platform at the beginning of the development process itself.
Player Settings:
This include some of the setting for you build . click it and you will be able to see a new tab

If you are building for pc,it is not essential that you configure these setting, even if you build with default value there won't be any error, but for some platforms like android these configurations are very important and can cause error if not properly configured .
1. First you have some details about the product , you company ,version , just fill it.
2.Default icon is the icon of you executable file. to change that drag any image to your project files. and then drag it to the icon .
3. next is the cursor , which if left empty will use the default windows cursor.
next important part is inside under " Resolution and Presentation" click on it to expand it.

1. in this you can change the screen mode ie full screen , windowed... if you chose windowed you will be allowed to give the default resolution (resolution which your game starts).
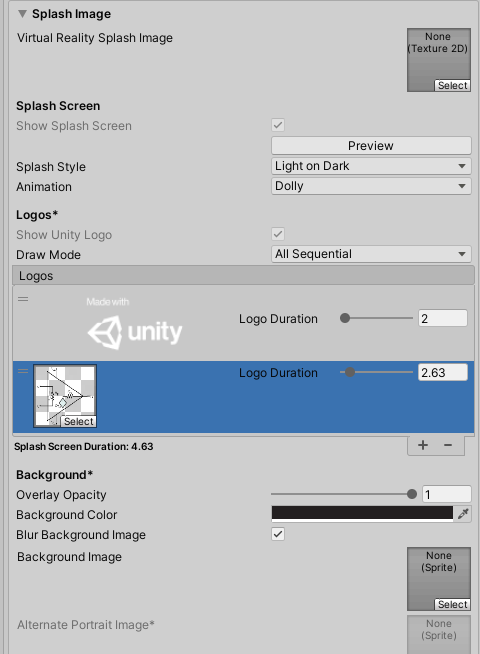
Next is under Splash screen:


No comments: